Happy New Year! I've been so busy the last month that it just dawned on me that I haven't made a post in over a month. That's too long.
Today's post concerns the basics for creating a root over rock style bonsai.
RoR as it's called on the web should not be confused with trees planted on or in a stone. With the root over rock style the roots grow over the stone and down in the soil of a bonsai pot. With the other two types of rock plantings the trees are growing entirely in or on the stone usually placed in a suiban (like a longish very shallow pot with no drainage holes).
There are a wide variety of trees that can be used for making a root over rock bonsai. Ficus, Trident Maple and Liquid Ambers probably are the best at melding the roots and stone together but Elms, Junipers, Pines and a host of others can all be used. Above is a Contorted Quince in bloom. I like to start with relatively young trees that haven't formed many hard roots. Once the roots harden up its difficult to get them to really attach to the stone. Tree's with harden roots can be used but the roots will look like the tree is just grasping the stone. When you use smaller roots its much easier to get them to actually become one with the stone- the root will actually meld to the stone, especially with the first three trees mentioned earlier. Ficus will probably do this better than any tree.
The roots of the Trident Maple above and below have grown over the stone to the point where stone and tree are one.
Other trees such as Elms will grab on but not meld to the stone. Such as in this Catlin Elm root over rock.( I know it needs a haircut desperately)
As you can see below the roots are gripping the stone but there is no joining of root and stone.
Rocks for Ror can come from many places -local building supply houses, out of the garden, from a river or mountain while on a hike, etc.. I like darker rocks with cracks and crevices I can guide the roots down through. For the most part I try to find stones that are not going to compete with the tree as a focal point. Below are some examples- they came from a local building yard and a Chinese bonsai nursery. Notice all the longitudinal crevices that run through most of them, these really give a place for the roots to follow down into the soil.
Above are small pieces of granite from a building supply yard.
These are from a Chinese bonsai nursery and the back two are actually several rocks put together.
Here is a piece of Granite from the northern CA and another Chinese stone.
The front stone above is called Mexican bowl and often is used to plant in or onto but can also be used for RoR and in back two chunks of some stone I found near Yosemite National Park.
To make a RoR bonsai you need the following-
A tree with log enough roots to go all the way over your chosen stone and below it.
Preferably a young tree but larger trees can be used.
Muck- a combination of clay soil and peat moss wet until the consistency is like putty.
A suitable rock- one with lots of texture and fissures are preferred.
Some plastic produce bags or plastic wrap
Some cotton or other natural twine.
So lets get started step by step.
Choose a stone.
I'm going to use the stone on the right because it has a good place to sit the base of the tree and lots of places I can run the roots through.
Next the tree- a young Liquid Amber.
We then remove the tree and using a hose and a chop stick completely bare root the tree.
Next we want to get rid of any roots that have gotten too hard or will keep the tree from sitting properly on the chosen part of your stone.
The next steps really goes much easier with a helper. Set the tree in place on the stone and drape the roots over all sides of the stone. Be sure to push them into any crevices and cracks along the way. The roots need to be long enough so that they will extend below the bottom of the rock and into the soil. As you place the roots use the cotton twine to tie them to the rock. Initially you only need to tie in a couple of places to hold things together.
Notice how the roots are following the cracks and crevices. Where possible push the roots into the cracks.
After the roots are in place cover them with muck- this will help "glue" them to the rock and give the roots on the rock something to get nourishment from and grow into.
Next take your plastic wrap or produce bag and use it to tightly wrap completely around the stone from the base of the tree down to just above the bottom of the rock. Use more twine to tie this as tightly as possible. This will force the roots against the rock and keep them from growing outwards into the soil. The muck will nourish them as the plastic forces the roots to grown downwards rather then out.
It's important that roots are extending out from the plastic wrap. These will grow into the soil mix and will be what mainly supports the tree.
Next plant the tree into a nursery can up to the base of the tree. This gives the root growing from under the plastic something to grow into and it helps keep pressure against the roots growing down the rock. Shorten the trunk and as the tree grows and branches develop start training the top of the tree.
After a year or two depending on how fast the tree grows it can be removed from the pot and some of the roots exposed. The trees below had the roots exposed two years ago. They were initially planted on the rock in January of 2009.
Now the next step for these will be to remove any roots that are not adhering to the stone or are deemed unattractive. They will also be planted a little bit higher to expose more root.
Late winter early spring is usually the best time to do this so go find your rocks and a tree and give it a try yourself.
I hope that you found todays post useful and that it encourages some of you to try this on your own.
As usual I welcome any comments or suggestions for future posts.
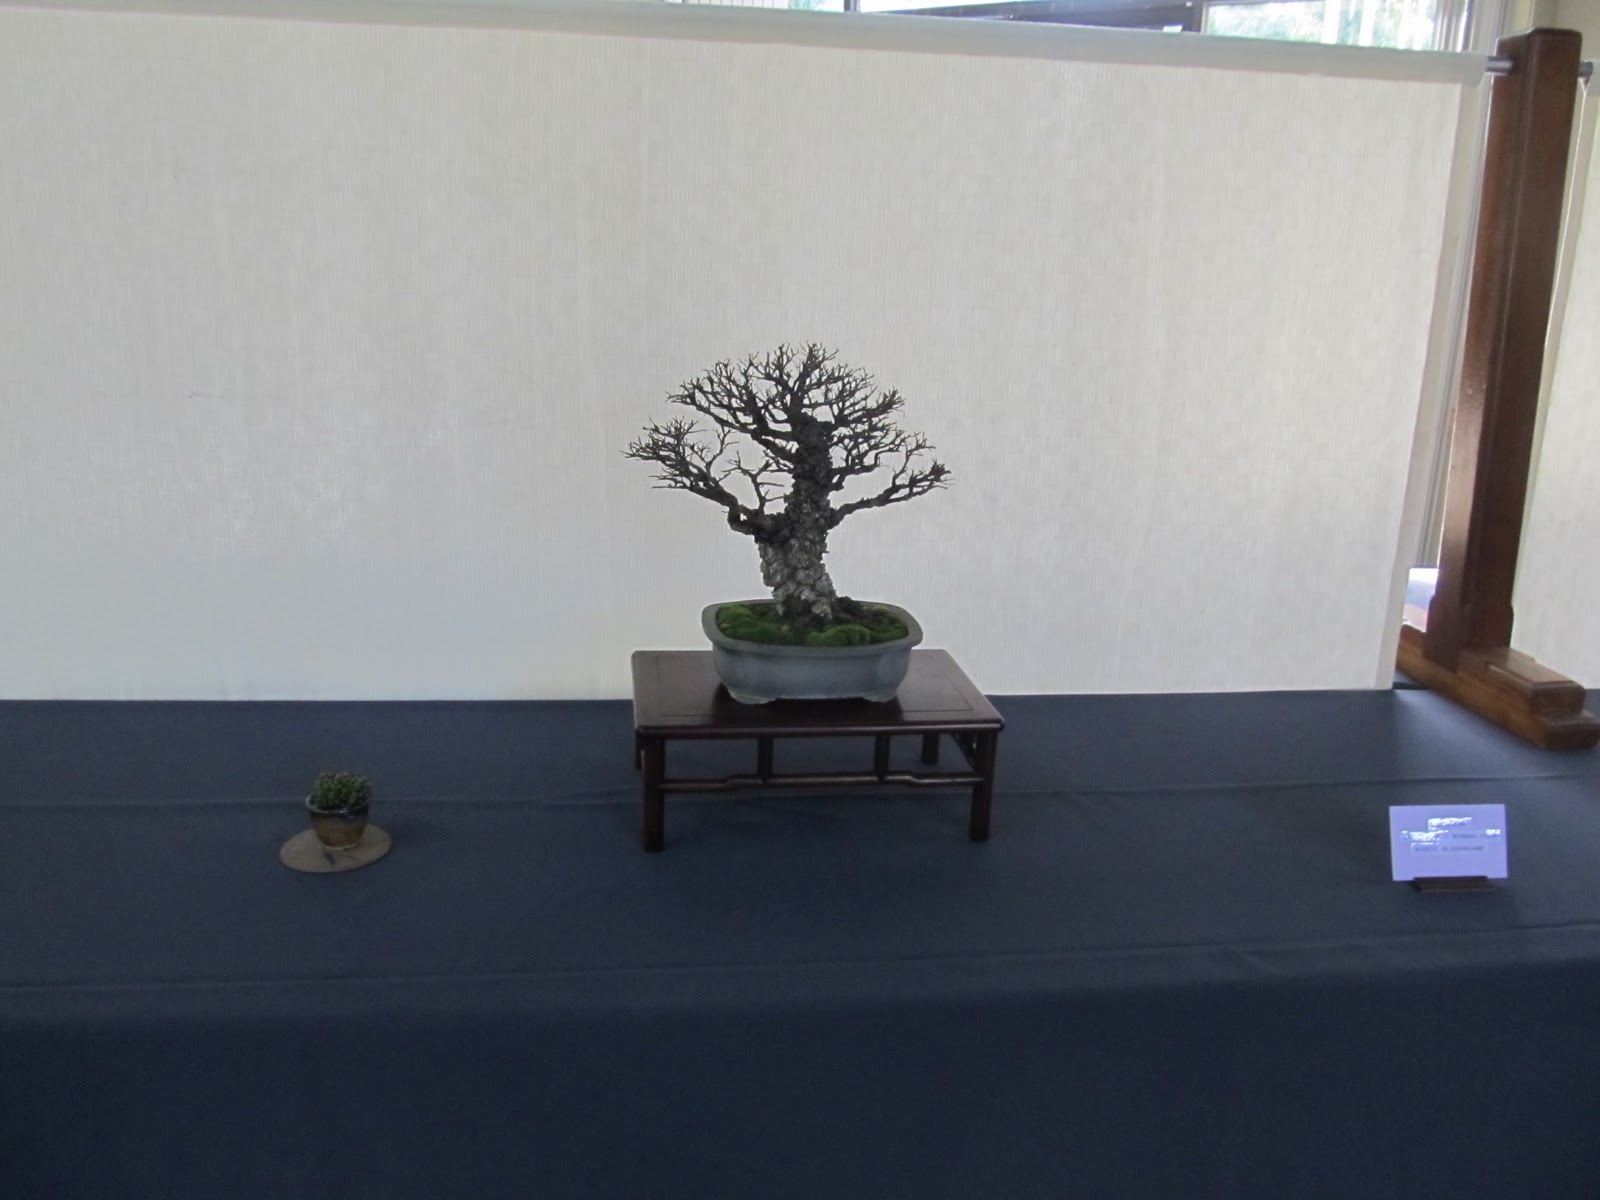
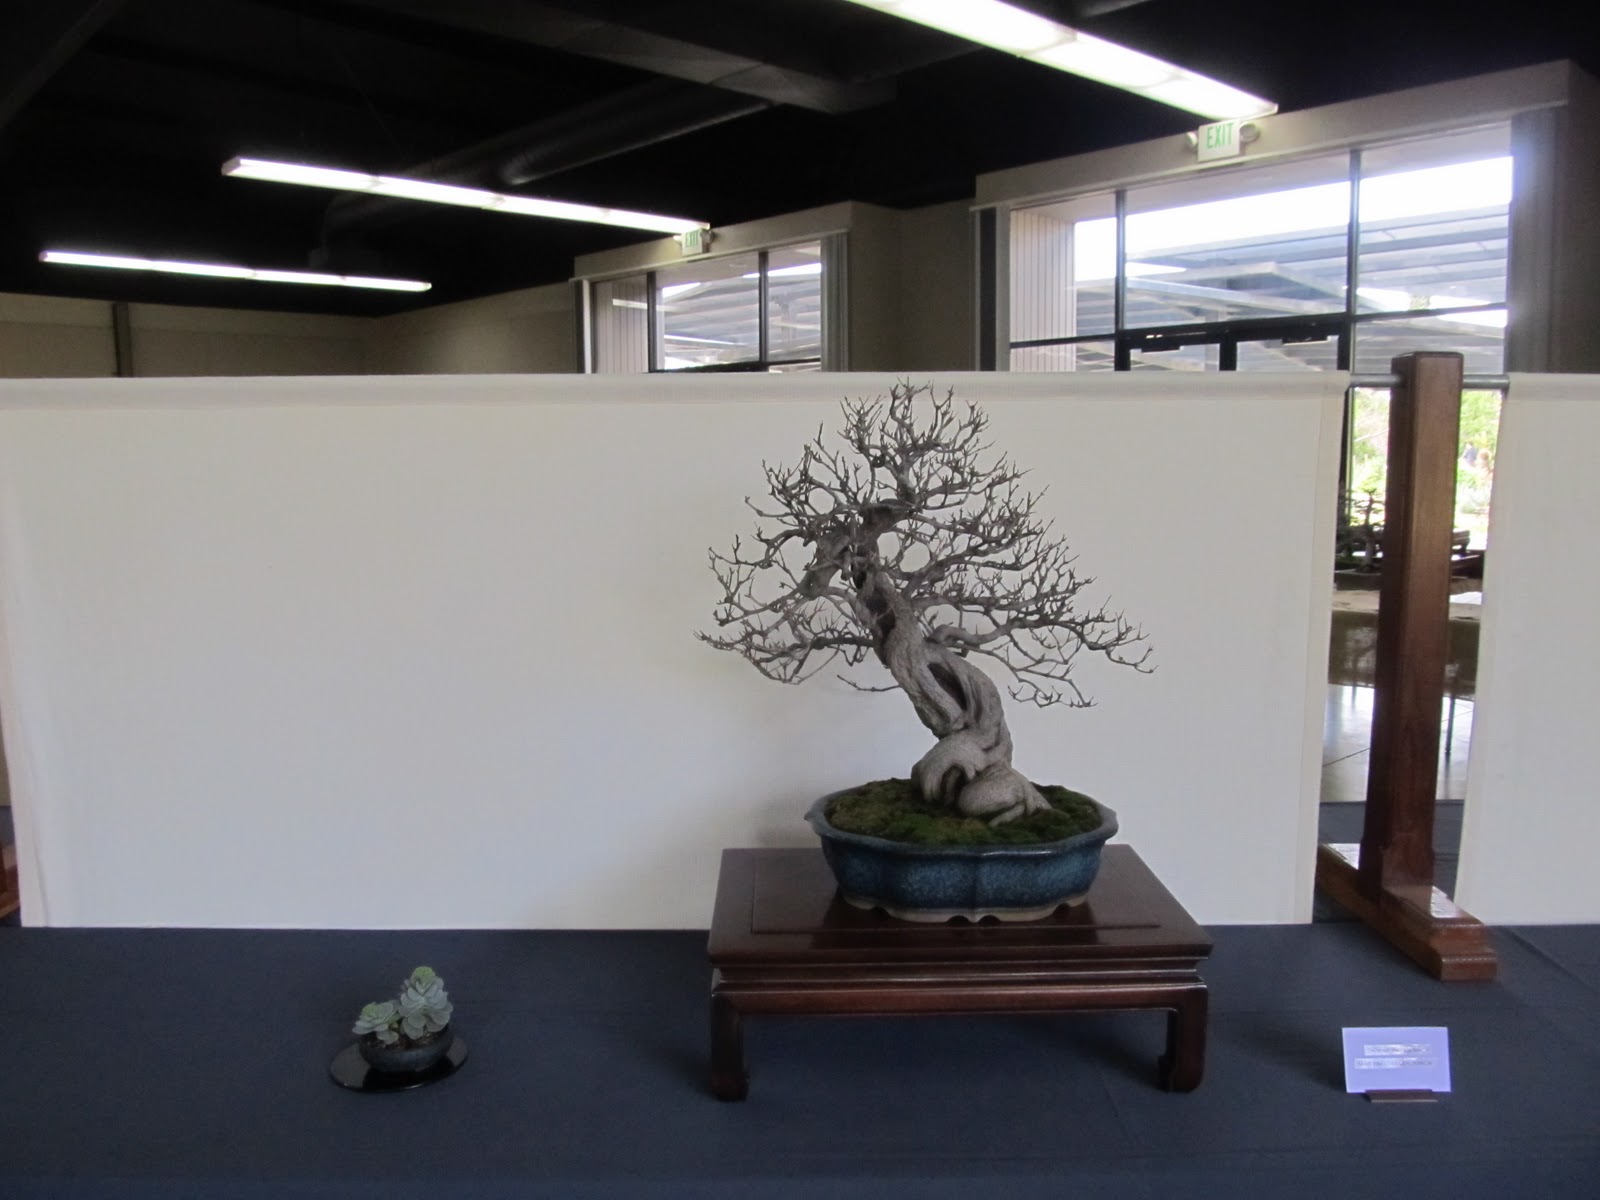
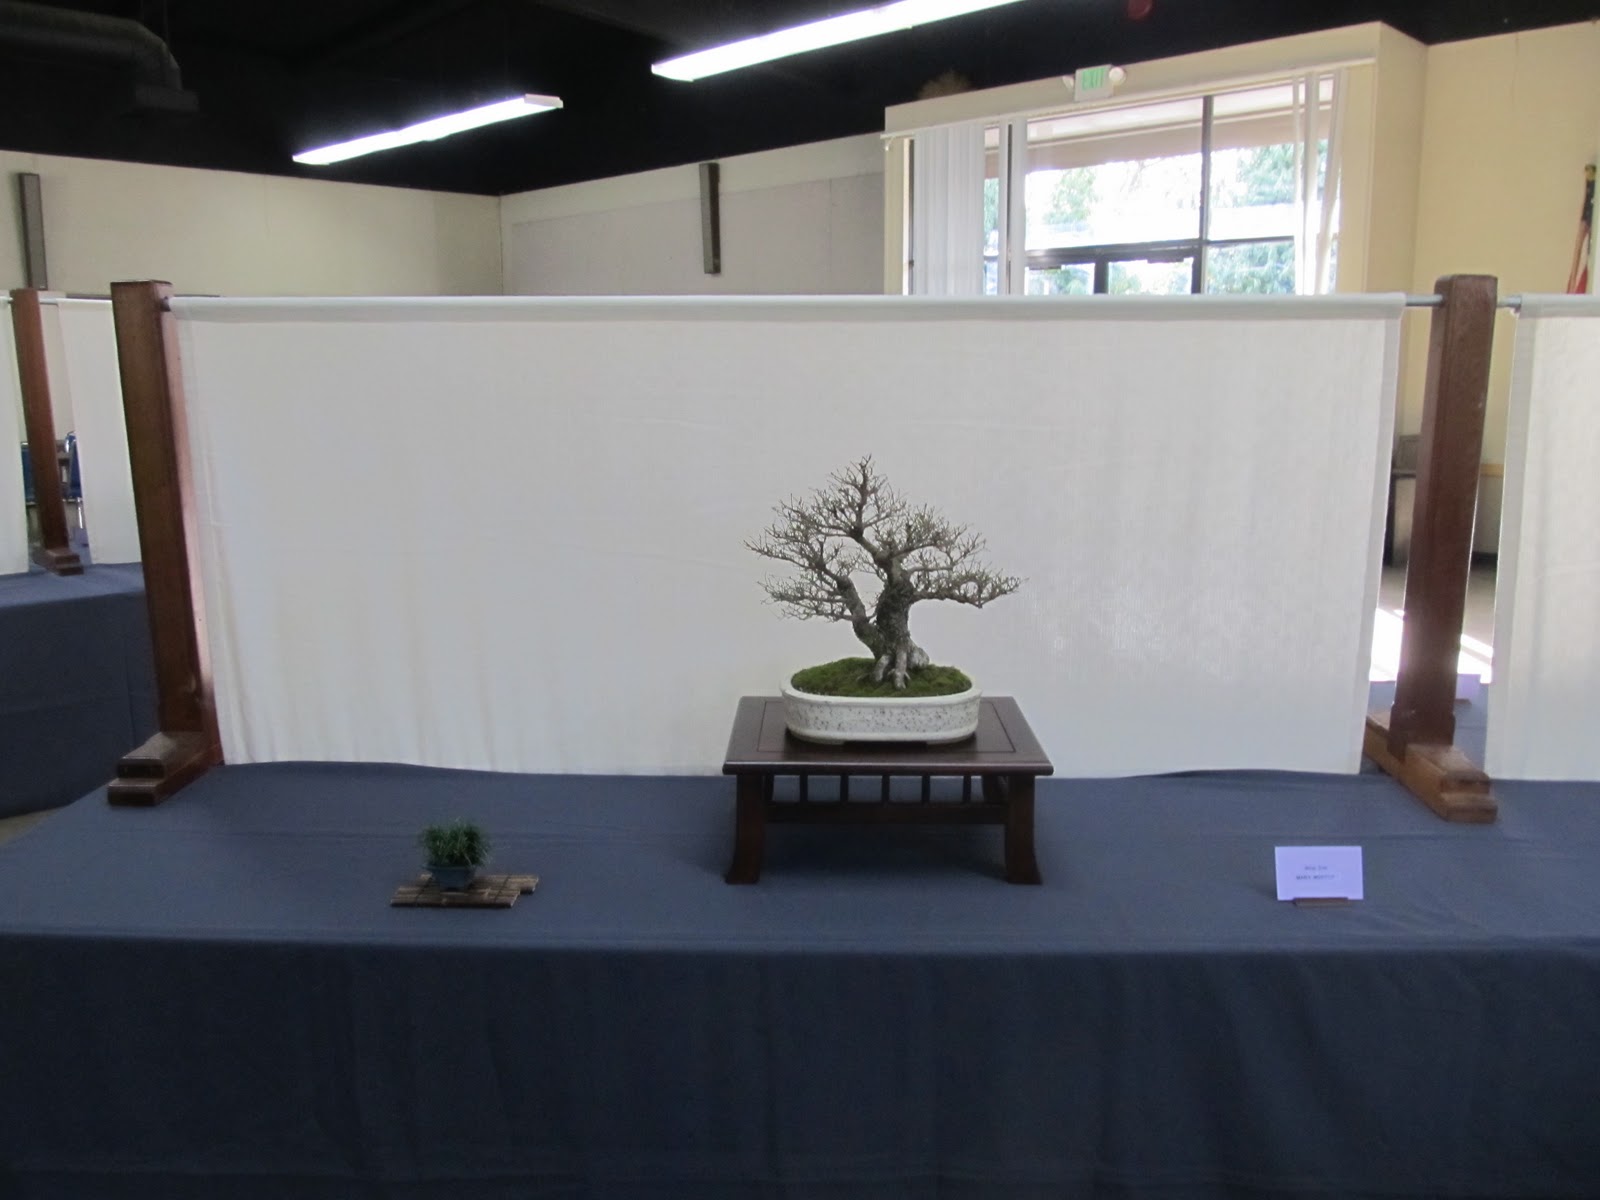
Just a reminder for those in Southern California- on January 14th and 15th there will be a Winter Silhouette bonsai show at the LA Arboretum from 9 am - 4:30 pm both days.
Look for a old large Pomegranate of mine on display.