Photos can be clicked on for a larger view.

Saturday, July 31, 2010

Chokecherry deadwood sculpting part 1

Hello, today's subject matter is a Prunus Virginiana commonly called Choke Cherry. The wood on these trees is very hard and lends itself to deadwood features, much like an old classic Japanese ume bonsai. This tree is 35+ years old. It was field grown for several years along with a number of other choke cherries I bought at the time, then dug up and planted in a 15 gallon can. It sat for another 12 years or so and was rooted in the ground, then 10 years ago I dug it up again and planted it in a smaller pot. These trees have made several very nice workshops - I'm  going to give you an idea how those workshops turned out.
Here is the tree prior to any work.
Here is a closer shot of the deadwood areas I'll be working on today.
As you can see the trunk on the right is completely dead and was cut at some point in the past.
Here's a closer look.
There is a large section on the main trunk that is damaged but still covered with bark.
Using a small carving knife I start scraping and picking away at the bark. To my surprise it started to pop off easily and I found some live borers inside. After quickly dispatching those nasty critters I continued scraping away at the dead bark and soft borer damaged wood. After this I used a wire brush to clean everything up and remove any last bits of soft wood.


Now comes the fun part. Using several different power tools I'm going to start carving and sculpting to hollow out the right trunk and to disguise some previous cuts. As you can see I've cut the dead trunk top flat. This is so I can use a electric drill to drill down unto the body of the right trunk, and start to create a hollow.
Using various sized drill bits and some carbide carving bits on a die grinder I continue hollowing and shaping, trying to create something that looks natural - not created by man's hand.

After doing all the rough carving I trimmed some branches  and hosed down the tree to clean off all the dust. Here is the result from part one of the carving work to be done on this tree.

Now I'll let the tree rest for awhile and in a few weeks or so I'll come back to it and start the final carving and sculpting.
I hope you enjoyed today's project. Please feel free to leave any comments or suggestions for future posts.

Thursday, July 29, 2010

A long overdue haircut


Today’s subject matter is a 25-30 year old Procumbins nana juniper.
It was first styled as a bonsai in 1995 from a piece of already old nursery plant. (old enough to have been in a metal nursery pot!)
Procumbins nana makes very good bonsai material, especially older ones if you can find them.  They are pretty tolerant of less than ideal treatment and lend themselves to a wide variety of styles. This is a somewhat unusual one being a triple trunk bunjin style.  For me the bonsai reminds me of a group of conifers growing on a cliffside along the coast somewhere.
I have made the same mistake this year with this bonsai that I caution my students not to make. I have not pinched or trimmed this tree for a year or so now and it has really lost its way. There is no longer any definition to the foliage pads and there is a bit of weak and dead foliage in the interior of the foliage masses.  If these bonsai are not pinched and thinned on a regular basis they can get so overgrown that the inside foliage gets somewhat weak.  That is what has happened here.
 Now I have to do a fairly extensive pruning to redefine the bonsai within. The tree will look somewhat bare after this treatment but in a couple of months should be looking good again. When students do this I call it the bush or skeleton syndrome. They bring a bush to class, we go through and give it its initial shape as a bonsai and then it doesn’t get worked on for a year and they bring it to class and we have to cut it back hard again to its basic shape. It’s the continual pinching and thinning that create the look and feel of age in our foliage masses.
Here are a couple of shots at the start of work, looking more like a bush than a bonsai.
The front.
The back.


Here’s one after starting to trim


And a couple after the haircut

I hope that you enjoyed today's post. Please feel free to post any comments or suggestions for subjects of future posts.

Sunday, July 25, 2010

California Juniper Raft Style

Hello again, today's project is on another California Juniper. This tree is growing in what is called a raft style, which is reminiscent  of a tree that has fallen over while the root ball stays intact. Over time what once were branches grow into trunks  and from one fallen tree several  new one's take its place. This tree is  probably several hundred years old. The tree was collected in the Techapi Mountains in the early 1990's by Harry Hiro, Mr. California Juniper himself. .He donated it to a California Bonsai Society Convention in the mid 90's and it was put in the raffle as a special prize with each ticket costing $5.00.
I put in about $300.00 worth of tickets and when they pulled the winning ticket ... it was not mine. Several years later maybe around '01 I was able to trade the winner a  couple of large pots for the tree.  The first year I had it it was not very happy, it hadn't been transplanted since being dug and the wood box it was in was falling apart. A lot of the branches had died back and a couple of trunks as well. I transplanted it and just let it grow . All was well for a couple of years then the tree was hit with a major infestation of spider mites , after treating them and removing the more damaged parts ,the tree looked pretty bare again so I let it grow out until now. Here is what the tree looked like at the start of the work.

Here is a look at the deadwood .
And after cleaning it up a bit.
After thinning out the lower trunks and branches I decided to train some of the small lower branches as if they were separate trunks. After thinning and applying wire here is what we have.

The main tree before work.
And after thinning and wiring.
And now we cleaned up some of the dead trunks.
And after a couple of hours we wind up with this.

The next couple of years will be devoted to developing the small "trunks" and  foliage masses.
I 'm considering planting it on a stone slab but I have time to make that decision. For now I'll feed and pinch it and see how it looks next spring.
I hope that you enjoyed todays post. Please feel free to post any comments or suggestions for subjects of future posts.

Wednesday, July 21, 2010

Bougainvilla emergency transplant

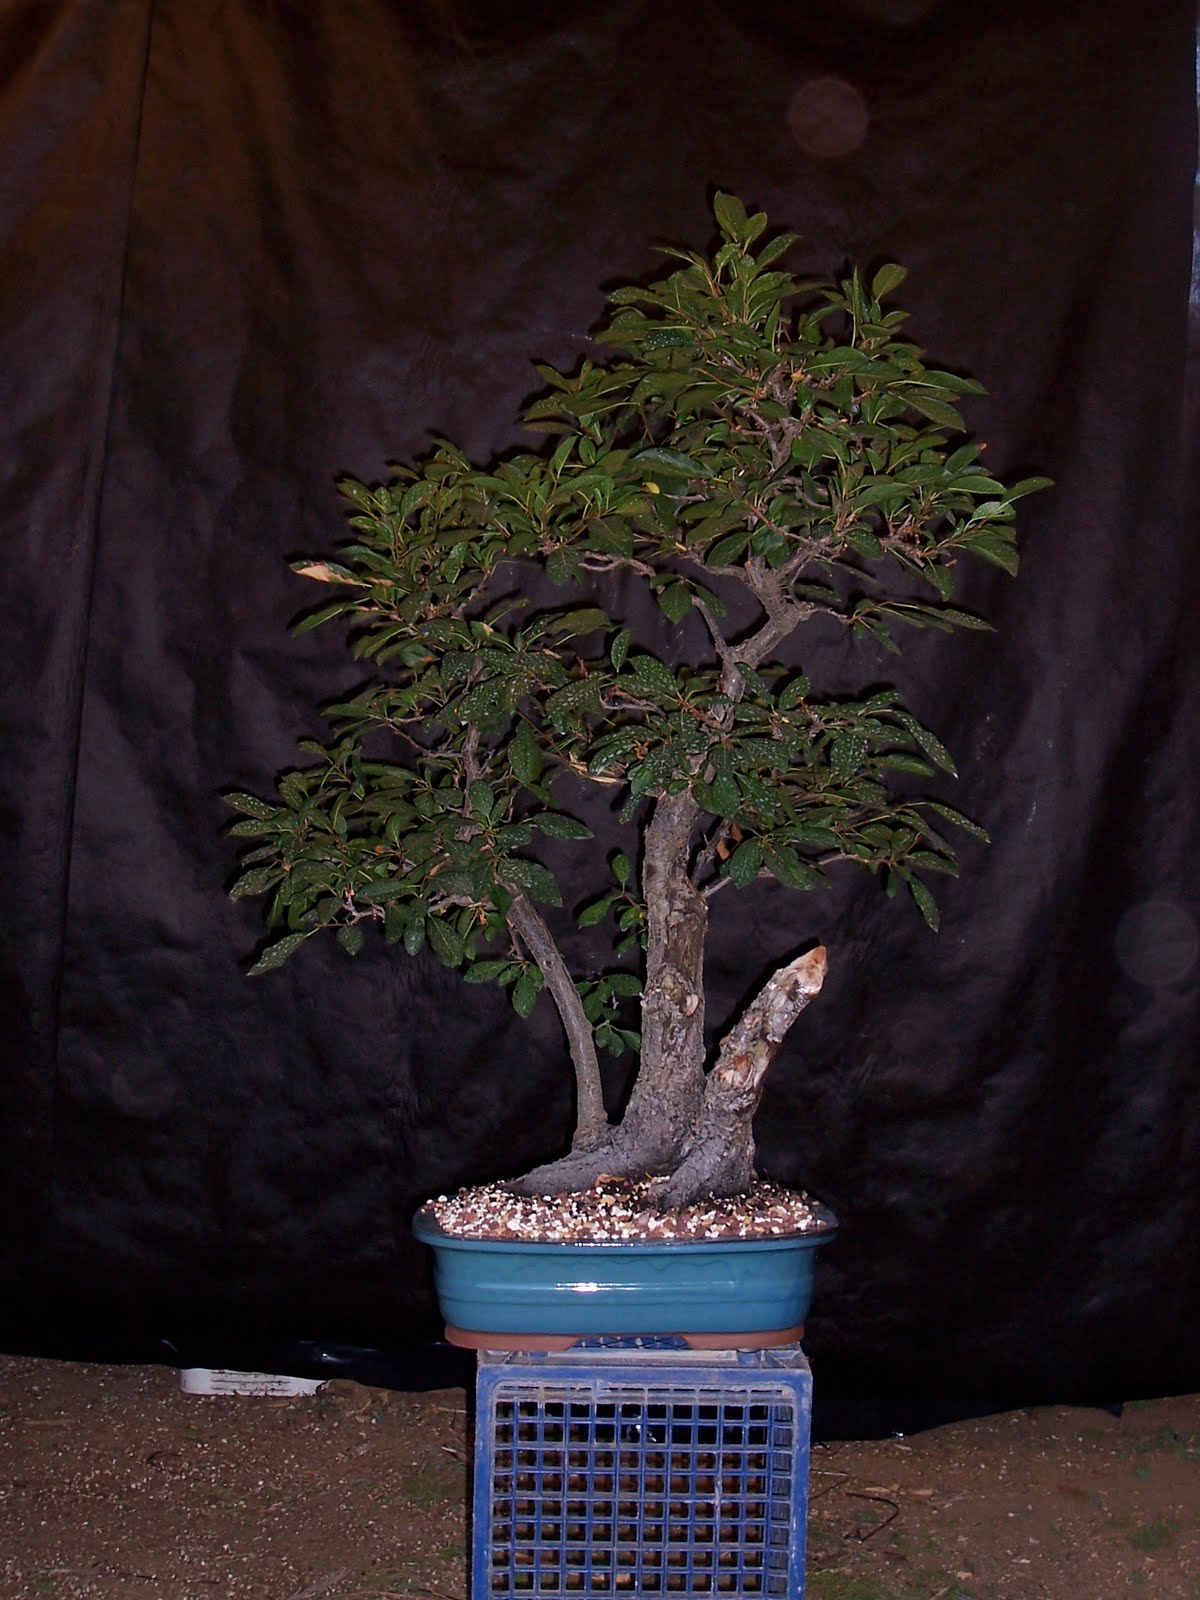
A client brought in a large Bougainvilliea bonsai that was looking really stressed. The branches were long and lanky, with yellowing leaves, dead flowers and foliage dropping off. The soil on the surface was hard and compacted. One look and it was apparent that it needed transplanting. Luckily Bougainvilla is one of the few bonsai we can transplant in the summer (here in Southern California) so I'm not concerned about its ability to recover from this procedure. They are a little touchy about having their roots meessed with and usually respond by dropping foliage, but in a couple of weeks it should be covered with new growth.
First we cut back all the long, lanky branches and cleaned up the dead flowers and dropping foliage. Here is what it looked like at that point:

Here you can see how compacted the soil is:
After taking it out of the pot it was apparent what the problem was: the roots had grown so dense that water couldn't get through and the roots were starting to rot.


(The areas you see with the grainy soil are where the roots grew over the screens covering the bottom of the pot at the last transplant.)
Next I cut off all the rotted roots, cleaned out as much of the compacted soil as possible and was ready to replant.


Then I positioned it it the pot and, using my proprietary bonsai mix, I transplanted into the same pot it was in before.


Then I watered copiously, making sure any fine dust in the soil mix washed out.


For the next week or two the tree will be kept in partial shade; as soon as there are new signs of growth it will be moved into full sun and fertilized.

Here are the tools I used for today's project.


Bottom row from left - bamboo whisk broom, potting trowel, large root cutter, shears, root hook, pliers,wire cutters and chopsticks.
Top row - Bonsai soil mix, screen to cover holes in pot.

I hope you enjoyed today's entry. Please feel free to leave any comments or to suggest future post topics.

Saturday, July 17, 2010

Work around the nursery

Today it's hot!! About 100f at noon probably going to 104f a little later.
 Today was just about watering most of the morning but I did manage to do some maintenance work on a California Juniper. These junipers are in my opinion one of the best native subjects for bonsai. The ones that have been collected and made into bonsai are usually several hundred years old, most having natural jins and sharis and some even have wild twisted, flattened trunks.  They are often made into very large bonsai, and can be found in the high desert mountains throughout central and southern California. The one featured today is one of my favorites. It was collected with the owners permission from private property in Tehacapi, CA in February of 2001. It's initial styling was done in January of 2006. Since then it has been coming along nicely. This year most of the work will go into developing the crown and maintaining the rest of the tree. It is smaller than most Ca. Juniper bonsai but has all the elements so sought after, plenty of natural deadwood. A good nebari and well defined lifelines. Everything is in good proportion, trunk size to height, branches to trunk - all very believable. Todays work consisted of a thinning of the foliage and wiring some of the secondary branching.
Here is what it looked like before starting work


After cleaning out a lot of growth in the crotches and down ward growing or otherwise unnecessary foliage and wiring of most of the secondary branches it looks like this.


It still needs another year or so to develop the crown.
Here's a close-up of the deadwood and the life line
I hope you enjoyed today's entry. Please feel free to leave any comments or to suggest subjects for the future.

Friday, July 16, 2010

Welcome to my blog

Hello everyone, Bob Pressler aka bonsaibp. here with my first blog post ever.
I'm new to the idea of blogging but have been around bonsai for a long time. I saw my first bonsai at the age of 10 in the Brooklyn Botanical Garden. I was blown away by them and have been fascinated ever since.
You can never tell what I'll have on my mind so check back often. I think I'll do some step by step photographic and written demos showing various bonsai techniques, from beginner to advanced. I'll post up class and workshop schedules as they become available. I will also post commentary and photos of ongoing bonsai work here at the nursery. From time to time I'll have specials at the nursery only for readers of this blog. In fact lets start now. All blog readers that come into the nursery will get 15% off any purchase from now until September 1, 2010. Any blog readers who order from my website between now and September 1, 2010 will recieve a free 1 gallon prebonsai. http://www.kimurabonsainursery.com
I'll end my first post with a photo of a giant forest planting that I created as a memorial for the victims of 9-11 at the Worrld Trade Center.


Please leave any comments or suggestions for future posts.