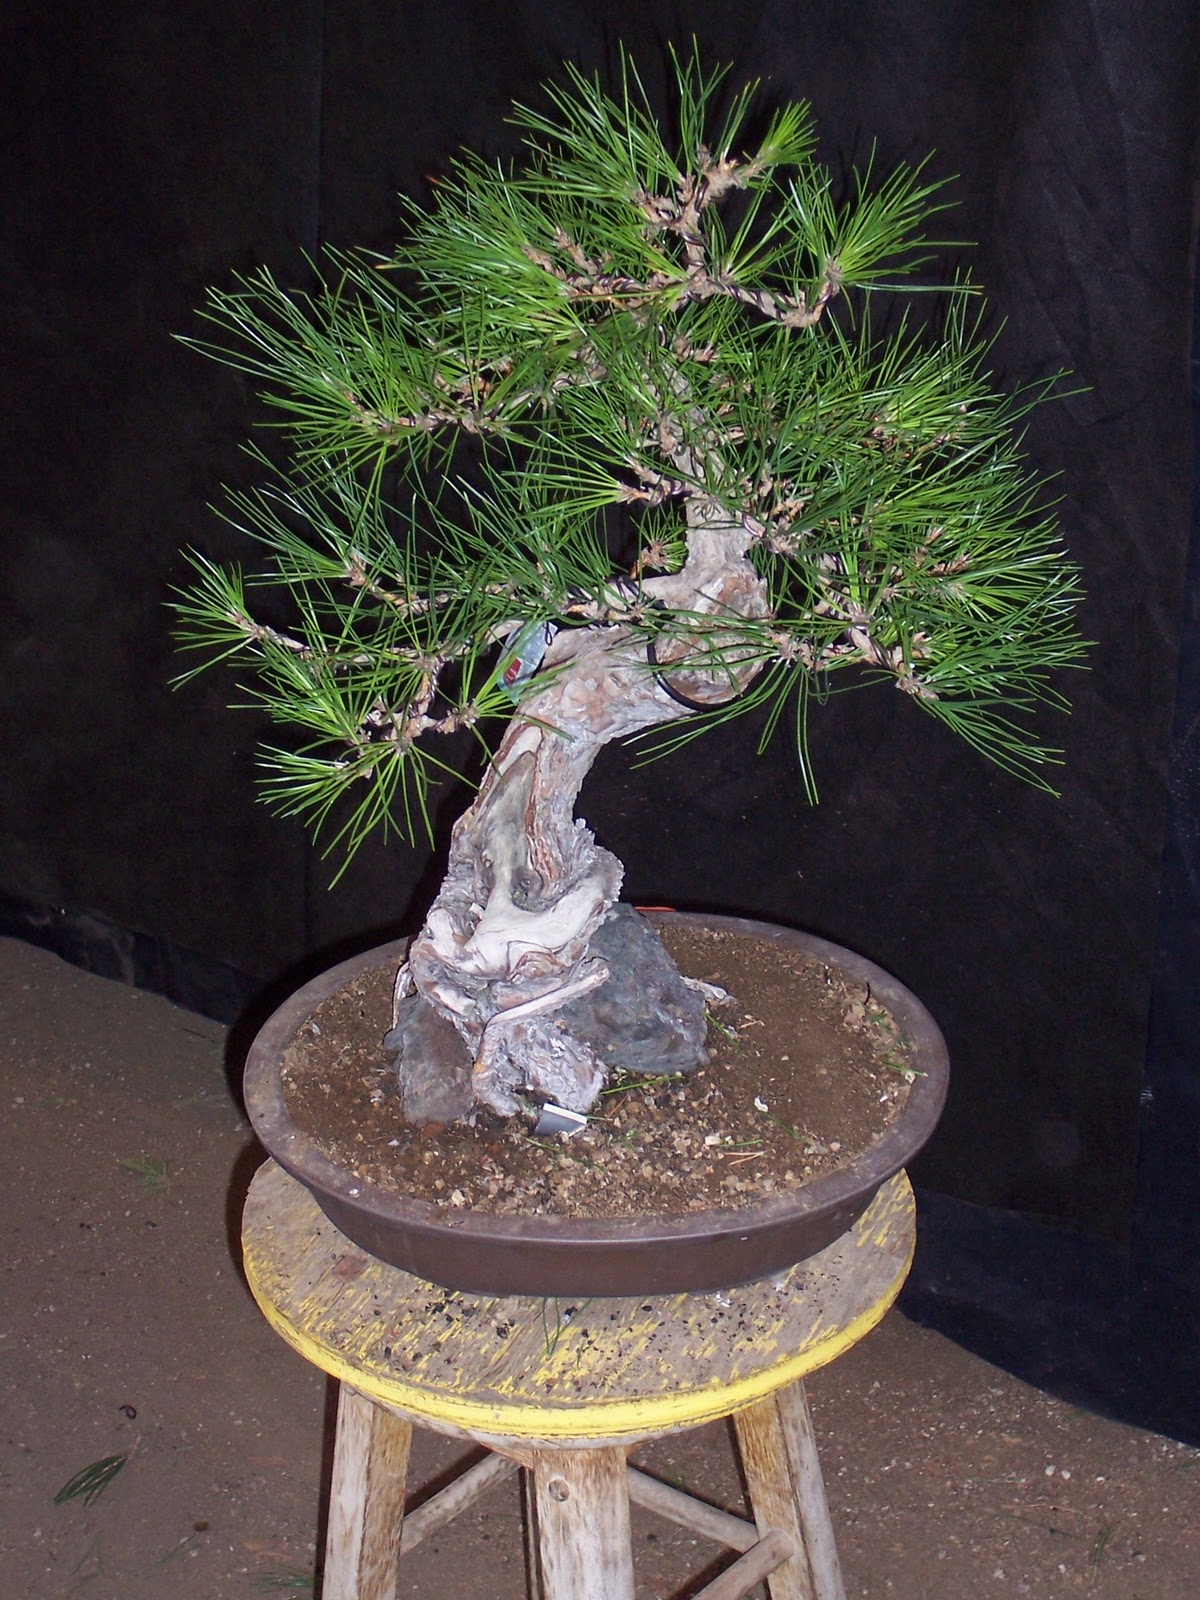
Todays subject is going to be about improving some less than ideal material. We all want to have the perfect tree, with great nebari, good taper throughout the trunk, good branch placement etc.. The fact of the matter is more often then not we don't get to start with ideal material. One of the challenges to being a bonsai artist is learning how to bring the most out of the material we have to work with. The tree we are going to work on today is a Japanese Black Pine that I acquired a couple of years ago after its owner passed away. Its an old tree that was started by a older Japanese man from 5 gallon nursery material in 1980. The roots were not in good shape at all, and worse they are so old and large there isn't much that could be done with them. The tree was also not in the best of health when I received it. It was about a foot or so taller than it is now and the needles were long with not too many interior buds.


To start todays work I'll begin by pulling old needles. Starting at the top of the tree I begin pulling out all the old sets of needles from the tree. There are several reasons for pulling needles- its one of the major tools we have for balancing out the growth of the tree. On the upper stronger parts you can pull more needles to slow down the trees energy, on weaker lower areas you would pull less. In this way you can help to balance the energy going to each part of the tree. On the strongest parts I even remove some of the new needle sets. Another important reason for pulling needles is to allow air and light into the interior of the tree allowing inside buds to get stronger. The photo below shows the tree after needle pulling.

The next step is to thin out the buds that grew as a result of last springs candle cutting. Some areas have 4 or even 5 new buds that grew. These I'll reduce to only 2 buds. One of them will become the new leader of the branch and the other will form a side branch. If they are really strong buds, especially in the top of the tree I may pick the weaker ones to keep and cut the stronger ones. This is also another way we can help to balance the trees growth. On weaker areas I'll take off the smaller ones and keep the stronger ones.
The next step will be to wire all the branches and put them in place. This photo shows that process starting. When wiring I'll start at the bottom of the tree and work my way up. I place each branch in it approximate place as I wire it.

I made the decision to change the front of the tree. Even with the rock under the two big roots it's still ugly. I like the shari at the base of the tree I think it adds great character to a tree that could use all the help it can get. The scar from the major trunk cut will probably take another four or five years to completely heal over. Here is the tree after the wiring and fitting another piece of stone under the roots.


I hope you enjoyed todays post. I'm always interested to hear any comments you may have about todays work or suggestions for future posts.
From Kimura Bonsai Nursery- a big Merry Christmas and Happy New Year to all.
Nice tutorial
ReplyDelete